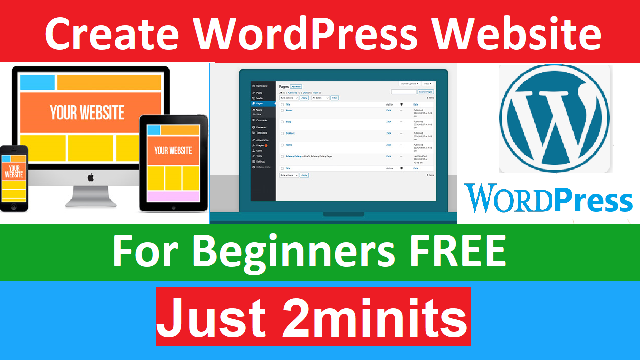

Welcome to our comprehensive guide on How to Install WordPress in cPanel, specifically tailored for the year 2023. If you’re looking to establish an online presence or create a blog or website, WordPress is an exceptional platform that offers flexibility, customization, and ease of use. In this detailed tutorial, we’ll walk you through the step-by-step process of installing WordPress in cPanel while providing insights and tips to ensure a smooth and successful installation.
Why Choose WordPress?
Before we dive into the installation process, let’s take a moment to understand why WordPress is an excellent choice for creating your website or blog. WordPress is a versatile content management system (CMS) that powers more than 40% of all websites on the internet. Its user-friendly interface, a vast array of themes and plugins, and strong community support make it an ideal platform for beginners and experienced users alike.
Step-by-Step Guide: Installing WordPress in cPanel
Step 1: Access cPanel
To start the installation process, log in to your web hosting account and navigate to cPanel. cPanel is a web-based control panel that simplifies website management tasks.

Step 2: Find the Softaculous App Installer
In cPanel, search for the “Softaculous App Installer” icon. Softaculous is a script installer that allows you to install various web applications, including WordPress, with just a few clicks.

Step 3: Choose WordPress
Click on the “Softaculous App Installer” icon and locate the WordPress option. Click on it to proceed with the installation.
Step 4: Install WordPress
Once you’ve selected WordPress, click on the “Install Now” button. This will take you to a page where you can configure the installation settings.

Step 5: Configure Installation Settings
Fill in the necessary information for your WordPress installation:
- Choose the version of WordPress you want to install.
- Select the domain on which you want to install WordPress.
- Set the directory where you want to install WordPress. If you want it to be your main website, leave this field blank.

Step 6: Configure Site Settings
Enter the details for your website:
- Site Name: Choose a name that reflects the purpose of your website.
- Site Description: Provide a brief description of your website.
- Admin Username and Password: Create a strong username and password for your WordPress admin account.
- Admin Email: Enter the email address associated with the admin account.
Step 7: Choose Plugins and Theme (Optional)
You can choose to install plugins and a theme during the installation process. However, it’s recommended to skip this step and customize your WordPress environment after the installation is complete.
Step 8: Complete the Installation
Review your installation settings and click on the “Install” button. Softaculous will now proceed to install WordPress on your chosen domain.
Step 9: Access Your WordPress Dashboard
Once the installation is complete, you’ll receive a confirmation message. You can now access your WordPress dashboard by navigating to “yourdomain.com/wp-admin.”
Watch How to Install WordPress in cPanel (Step-by-Step) full Video tutorial
Tips for a Successful Installation
Secure Your Website: After installation, ensure your website’s security by regularly updating WordPress, themes, and plugins. Additionally, use strong passwords and consider implementing a security plugin.
Customize Your Website: Explore the wide range of themes and plugins available to customize your website’s appearance and functionality according to your preferences.
Optimize for SEO: Install an SEO plugin, such as Yoast SEO, to optimize your website for search engines. This will help improve your website’s visibility in search results.
Create Quality Content: Remember that installing WordPress is just the beginning. To attract and retain visitors, focus on creating valuable and engaging content that resonates with your target audience.
Conclusion
Congratulations! You’ve successfully installed WordPress in cPanel using Hindi, and you’re now ready to embark on your website-building journey. WordPress’s flexibility, customization options, and user-friendly interface make it an excellent choice for individuals and businesses looking to establish an online presence. By following the step-by-step guide and implementing the provided tips, you’ll be well-equipped to create a compelling and successful website.